


Aerial Photography: Yes
Anti-wind Ability: A
Barcode: No
Brand Name: NONE
Certification: 3C
Charging Time: 40 minutes
Control Channels: 4 channels
Controller Battery: AA
Controller Mode: MODE2
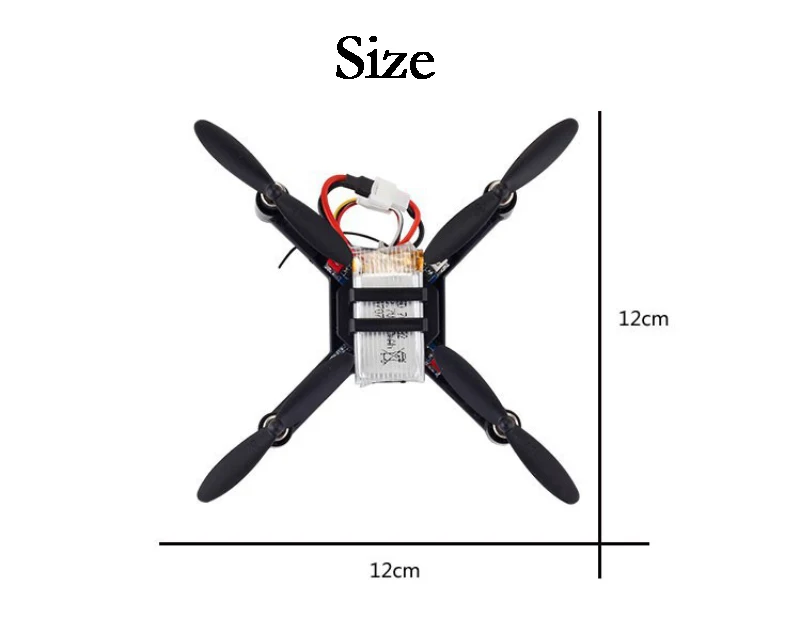
Dimensions: 17x12x9 CM
Drone Weight: 100g
Features: App-Controlled
Flight Time: 5~10
High-concerned chemical: None
Indoor/Outdoor Use: Indoor-Outdoor
Is Batteries Included: Yes
Is Electric: No battery
Material: Metal,Plastic
Motor: Brush Motor
Operator Skill Level: Beginner
Origin: Mainland China
Package Includes: Original Box,Batteries,Operating Instructions,Camera,USB Cable
Plugs Type: usb
Power Source: Electric
Recommend Age: 14+y
Remote Control: Yes
Remote Distance: 80 M
State of Assembly: Unassembled Kit
Takeoff Weight: 100g
Transit Time (Days): 80 m
Type: HELICOPTER
Video Capture Resolution: 480P SD
Warning: Please read the manual carefully before use
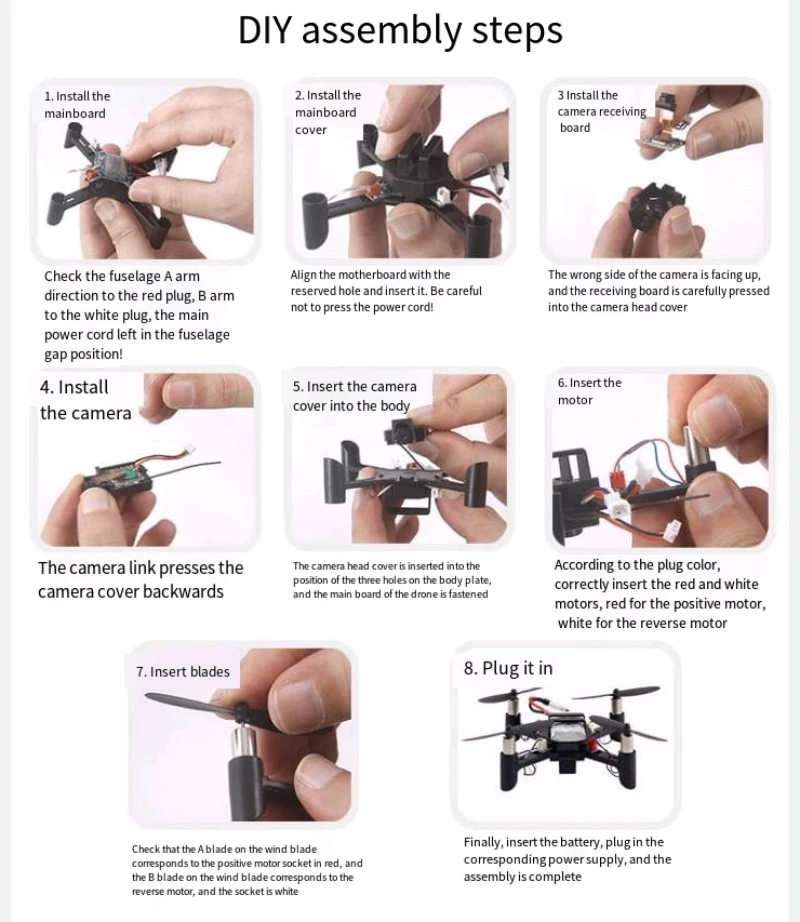
DIY assembly steps
1. Insert the motherboard, align the direction of the A-arm of the body with the red plug, align the B-arm with the white plug, and leave the main power cord in the gap position of the body!
2. Insert the motherboard cover and align it with the holes left on the motherboard of the machine body. Be careful not to press the power cord!
3. Install the camera receiver board with the camera facing upwards, and carefully press the receiver board into the camera cover
4. Install the camera link and press the camera cover on the opposite side
5. Insert the camera cover into the body, align the camera cover with the three holes on the body board, and insert it to secure the drone motherboard
6. Insert the motor according to the color of the plug, and correctly insert both red and white motors. Red represents the positive motor and white represents the negative motor
7. Insert the fan blade to identify the positive motor corresponding to the A fan blade on the fan blade. The socket is red, and the B fan blade on the fan blade corresponds to the opposite motor. The socket is white
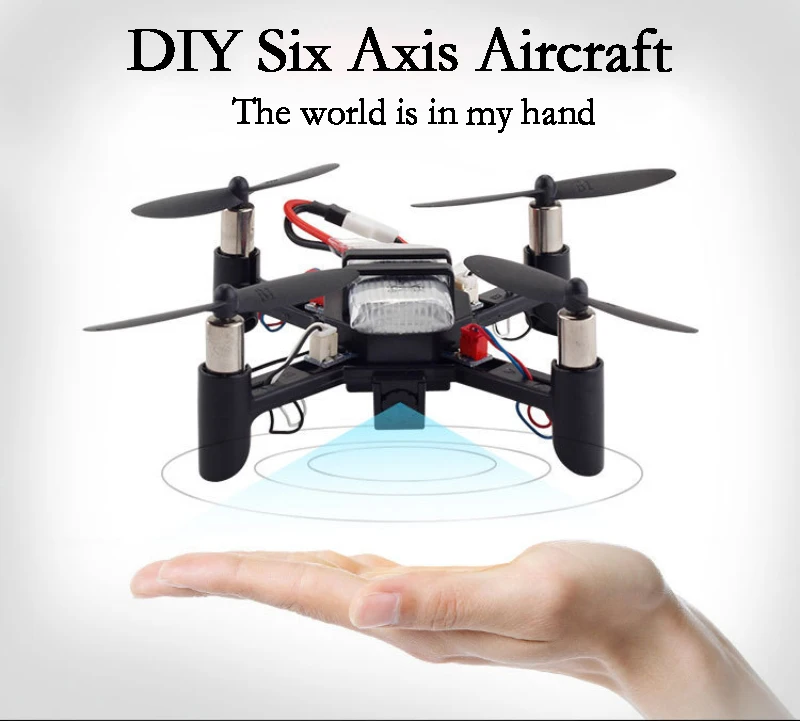
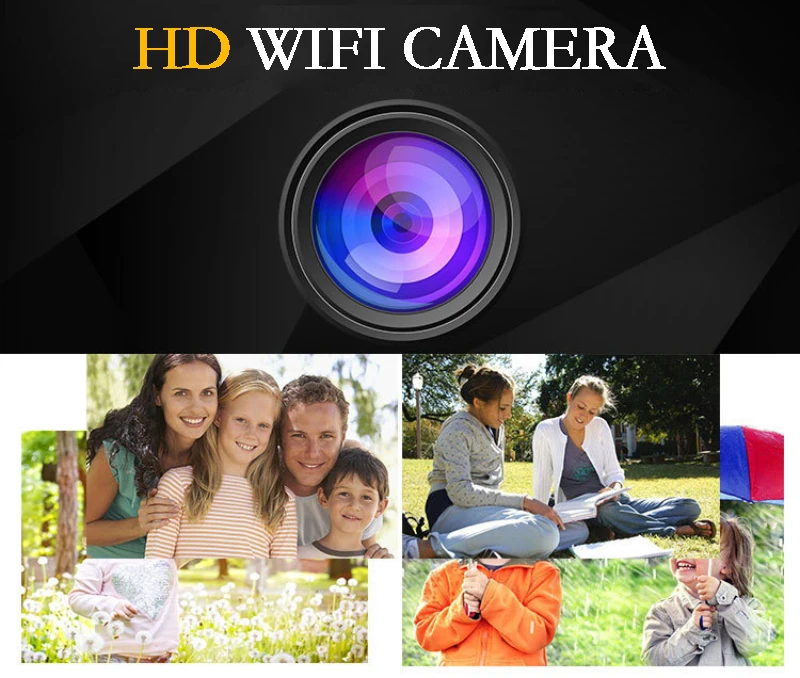
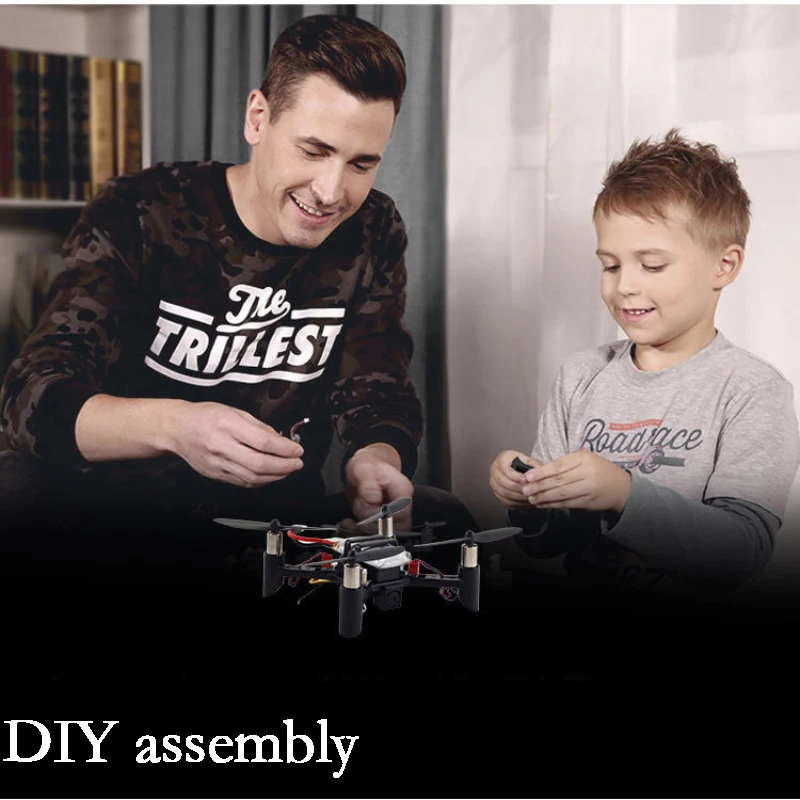
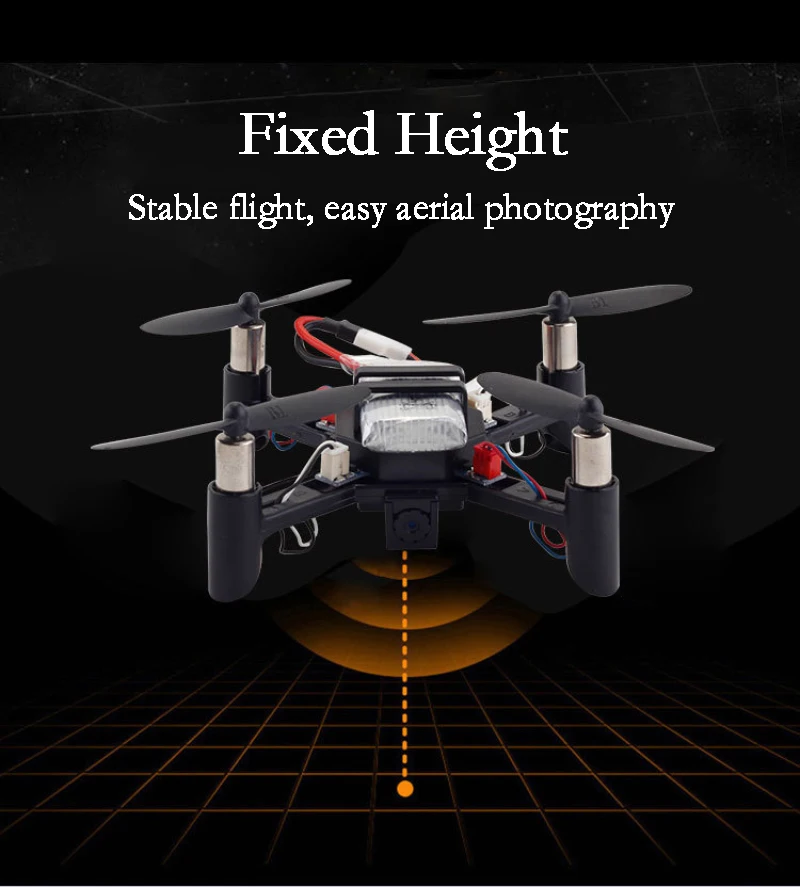
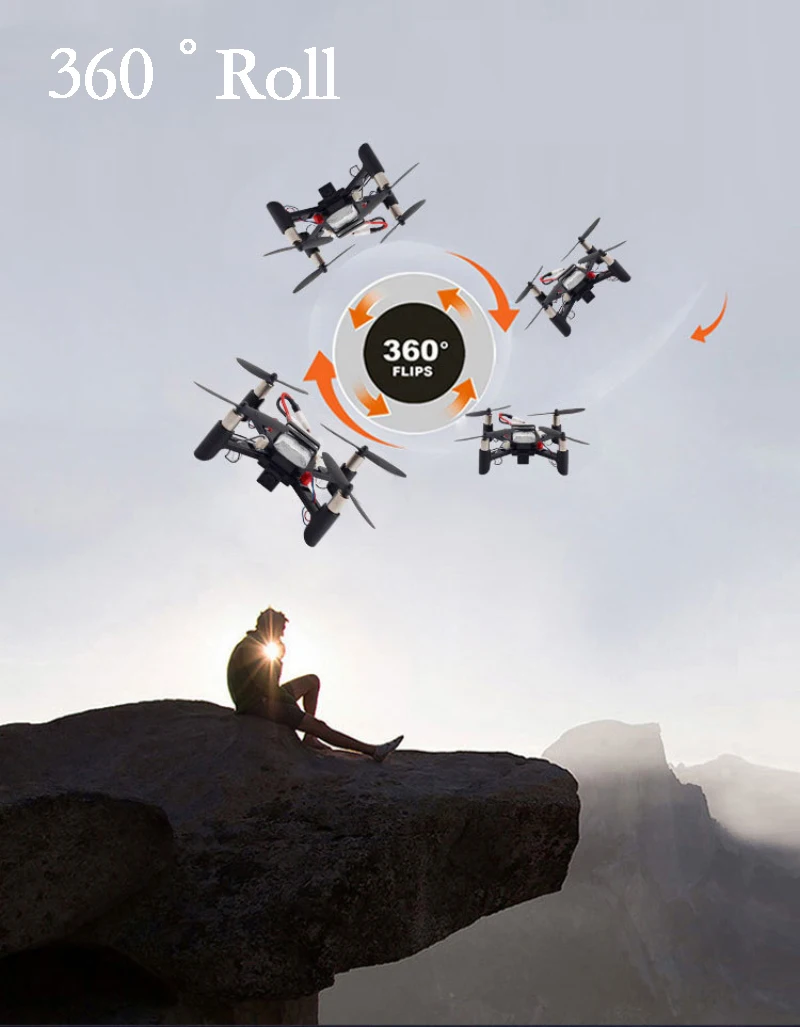
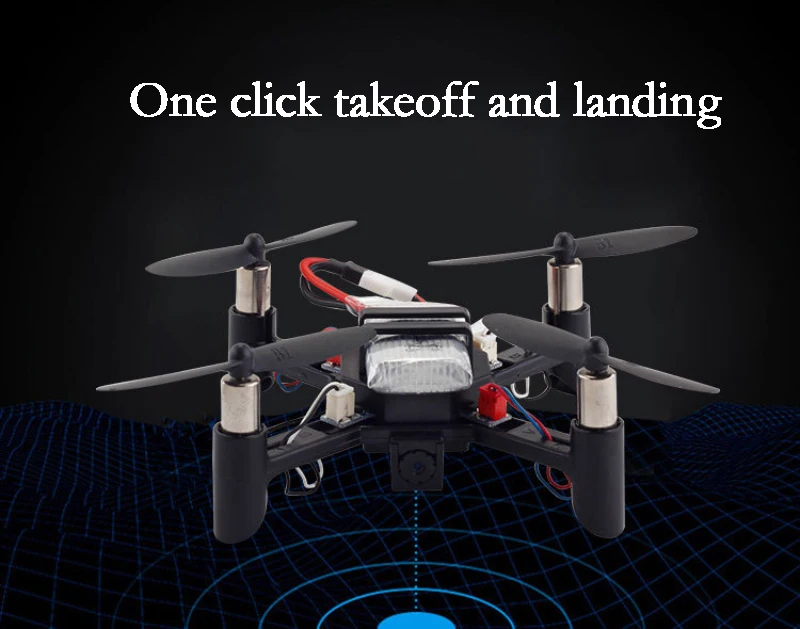
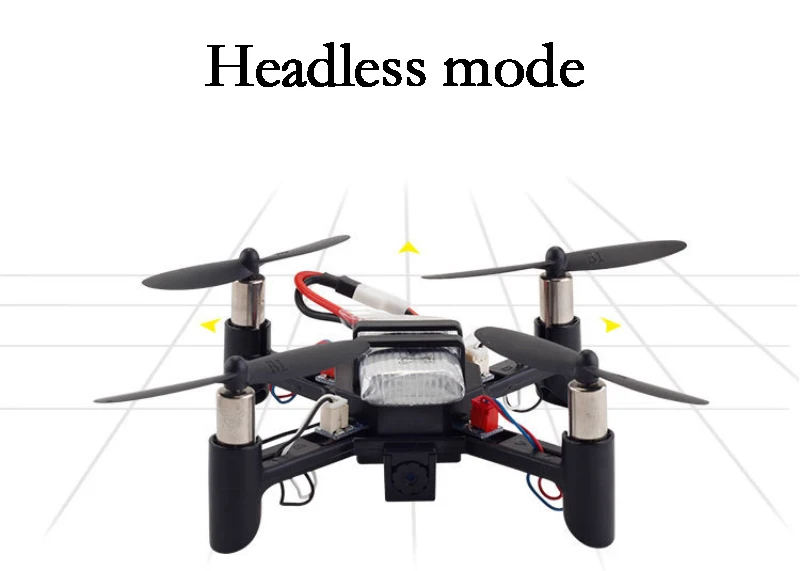
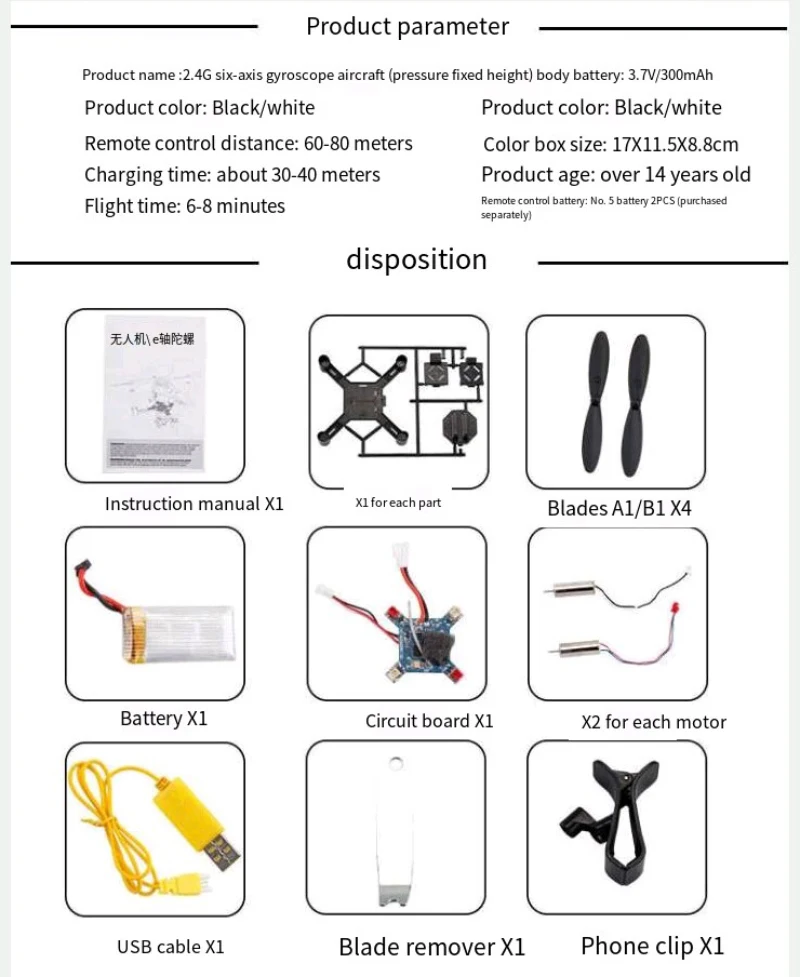
SPECIFICATIONSBrand Name: NONEFor Vehicle Type: AirplanesHigh-concerned chemical: NoneIs Batteries Included: YesIs Electric: No batteryIs it battery/power supply: NIs it charger/adapter: YMaterial: PlasticModel Number: Happymodel Mobula8Origin: Mainland ChinaRC Parts & Accs: Batteries - NiMHRecommend Age: 6-12YUse:...
SPECIFICATIONSBattery type: lipo batteryBrand Name: luxmartCertification: CEChoice: yesControl type: remote controlFlying Distance: 0-150mFrequency: 5GMHz/2.4MHzFunction: Headless mode, One Key Takeoff / Landing, With Remote Control, APP Control, With Camera, Other, FoldableHigh-concerned chemical: NoneMaterial: ABSMaximum flight time:...
SPECIFICATIONSBrand Name: NONEHigh-concerned chemical: NoneIs Batteries Included: NoIs Electric: No batteryIs it battery/power supply: NIs it charger/adapter: NMaterial: Composite MaterialOrigin: Mainland ChinaRecommend Age: 14+yUse: Vehicles & Remote Control Toys Hello and welcome to FunFPV Store,...
SPECIFICATIONSAerial Photography: NoAnti-wind Ability: otherBarcode: YesBrand Name: BETAFPVCamera Mount Type: Fixed Camera Mount,OtherControl Channels: 4 channelsController Battery: otherController Mode: MODE2Drone Weight: 71gFeatures: OtherFlight Time: 5~10High-concerned chemical: NoneIndoor/Outdoor Use: Indoor-OutdoorIs Batteries Included: NoIs Electric: No batteryMaterial:...
SPECIFICATIONSAerial Photography: YesAircraf Operating Frequency: 2.4 GHzBrand Name: BETAFPVCamera Features: 1080p HD Video RecordingCamera Integration: Camera IncludedCamera Mount Type: Fixed Camera MountCategory: Camera DroneConnectivity: APP Controller,Remote Control,WiFiDisplay Control: NoDrone Weight: 17.1gEquipped with Aerosol Spraing System/Spread...
SPECIFICATIONSAerial Photography: NoAnti-wind Ability: otherBarcode: YesBrand Name: BETAFPVCamera Mount Type: Fixed Camera MountCertification: CEControl Channels: 4 channelsController Battery: otherController Mode: MODE2Drone Weight: 20gFeatures: FPV Capable,OtherFlight Time: 5~10High-concerned chemical: NoneIndoor/Outdoor Use: Indoor-OutdoorIs Batteries Included: NoIs Electric:...
SPECIFICATIONSAerial Photography: NoAnti-wind Ability: OTHERBarcode: YesBrand Name: BETAFPVCamera Mount Type: Fixed Camera MountControl Channels: 8 CHANNELSController Battery: OTHERController Mode: MODE2Drone Weight: 17.1gFeatures: FPV CapableFlight Time: <5High-concerned chemical: NoneIndoor/Outdoor Use: Indoor-OutdoorIs Batteries Included: NoIs Electric: No...
SPECIFICATIONSAerial Photography: YesAircraf Operating Frequency: 2.4 GHzBrand Name: DJIRCTOYCamera Features: 1080p HD Video RecordingCamera Integration: Camera IncludedCamera Mount Type: Fixed Camera MountCategory: Camera DroneConnectivity: WiFi,Remote ControlDisplay Control: NoDrone Weight: officialEquipped with Aerosol Spraing System/Spread Tank...
SPECIFICATIONSAPP Supported Languages: Japanese,French,German,Italian,Spanish,Korean,Dutch,Portuguese,Latin American Spanish,Brazilian Portuguese,English,Simplified Chinese,Traditional Chinese Style,Swedish,Polish,Greek,Turkish,Ukrainiaan,RussianAerial Photography: YesAircraf Operating Frequency: 2.4 GHz,5GHzBrand Name: LenovoBuilt-in Display: YesCamera Features: 4K HD Video Recording,6K HD Video Recording,8K HD Video RecordingCamera Integration: Camera IncludedCamera Mount...
SPECIFICATIONS4DRC Model: 4D-V2Aerial Photography: YesAnti-wind Ability: <10km/hBrand Name: 4DRCCharging Time: as descriptions showCharging Voltage: as descriptions showChoice: yesControl Channels: 4 channelsController Battery: Not includedController Mode: MODE2Dimensions: 9.5*9.5*3CMDrone Weight: 19.5gFeatures: App-ControlledFlight Time: 5~10High-concerned chemical: NoneIs Batteries...

Shop high-quality drones, parts, and accessories with expert advice and exceptional service. Elevate your drone game today!


